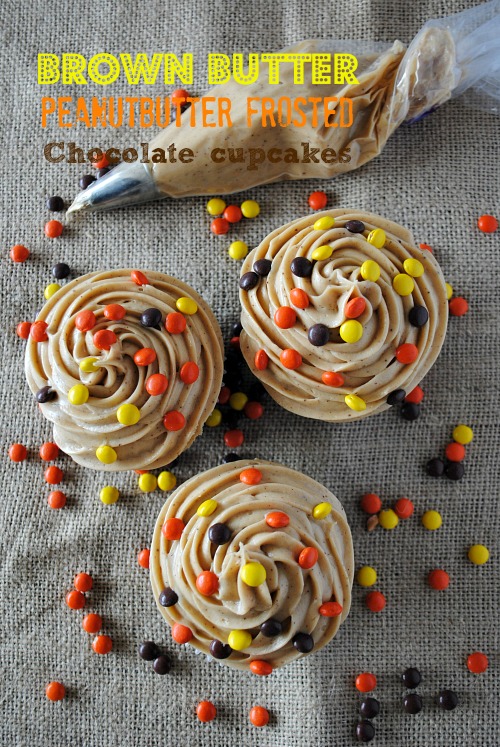
Peanut butter is one of the best kinds of butter I know. I didn’t think this growing up, in fact, I never really even liked peanut butter that much (crazy..huh). I wasn’t a PB fan until I was an adult…go figure! Now, I have to limit my peanut-butter in-take, who knew that would happen. I actually feel so sorry for all those people allergic to peanuts. If you are not allergic then read on and make these rich and delicious cake bars.
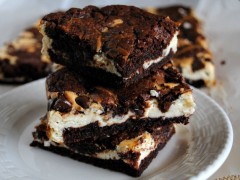
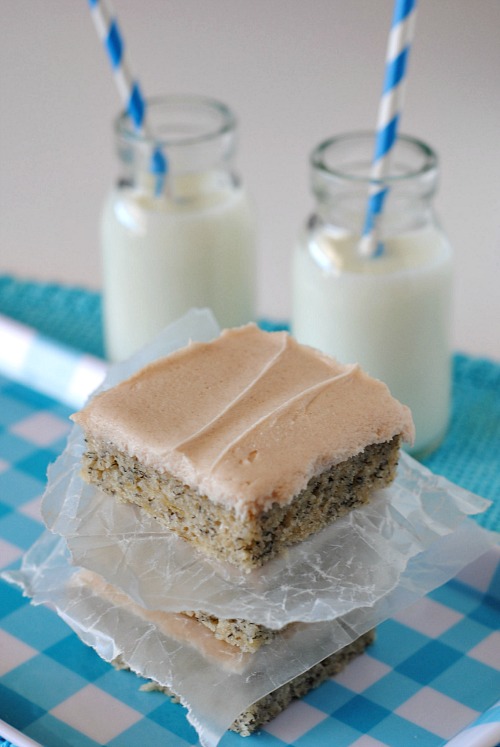
I remember the first time I made these delicious bars, I fell in love. I probably ate most of them too. I made these for a road trip and was so happy I did. The fact that this recipe is a sheet cake makes it easy to take for a family get together or taking to a BBQ or picnic. One thing that is sure to happen is that these Peanut Butter Texas sheet cake bars will get eaten up quickly and people will be asking for the recipe.
Peanut Butter Texas Sheet Cake


2 1/2 cups sugar
1 1/2 teaspoon baking soda
3 cups flour
1 teaspoon salt
2 sticks butter
1 1/2 cup water
1 1/2 cup peanut butter
1 cups of milk
2 teaspoon vanilla
3 eggs
Frosting:
1 stick butter
½ cup peanut butter
6 teaspoons milk
1 tsp. vanilla
1 pound powdered sugar
Directions:
Step 1: Preheat oven to 400 F.
Step 2: In a large bowl, mix together sugar, baking soda, flour, and salt. Set aside.
Step 3: Combine butter, water, and peanut butter in a saucepan and bring to boil. Pour over flour mixture.
Step 4: Add milk, vanilla, and eggs. Mix.
Step 5: Pour into large sheet cake pan 13 in X 18 in.. Bake at 400 F for 25-28 minutes. Remove from the oven when the cake is done.
While the cake is baking make the frosting:
Step 1: Bring butter, peanut butter and milk to boil in a saucepan.
Step 2: Add the powdered sugar and until combined. Pour frosting over cake and spread with a butter knife or cake spatula.
Makes about 32
Recipe adapted from Tasty Kitchen


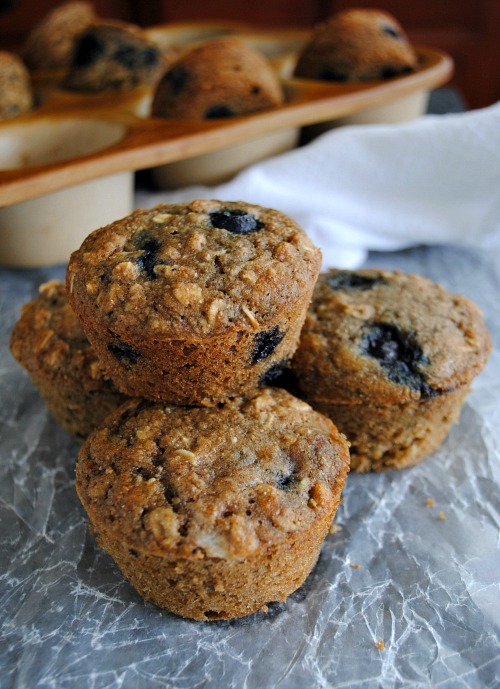
 Some people poo poo oats 🙁 but not me, I love them cold or hot. I’m one of those people that still believes they are healthy for me, especially when they are whole. This breakfast on the go or snack is easy to make ahead of time, taste good and has lots of good for you stuff in it. If you don’t have agave syrup to add for sweetener then just add honey. The recipe makes just two servings. Hope you give this simple little recipe a try.

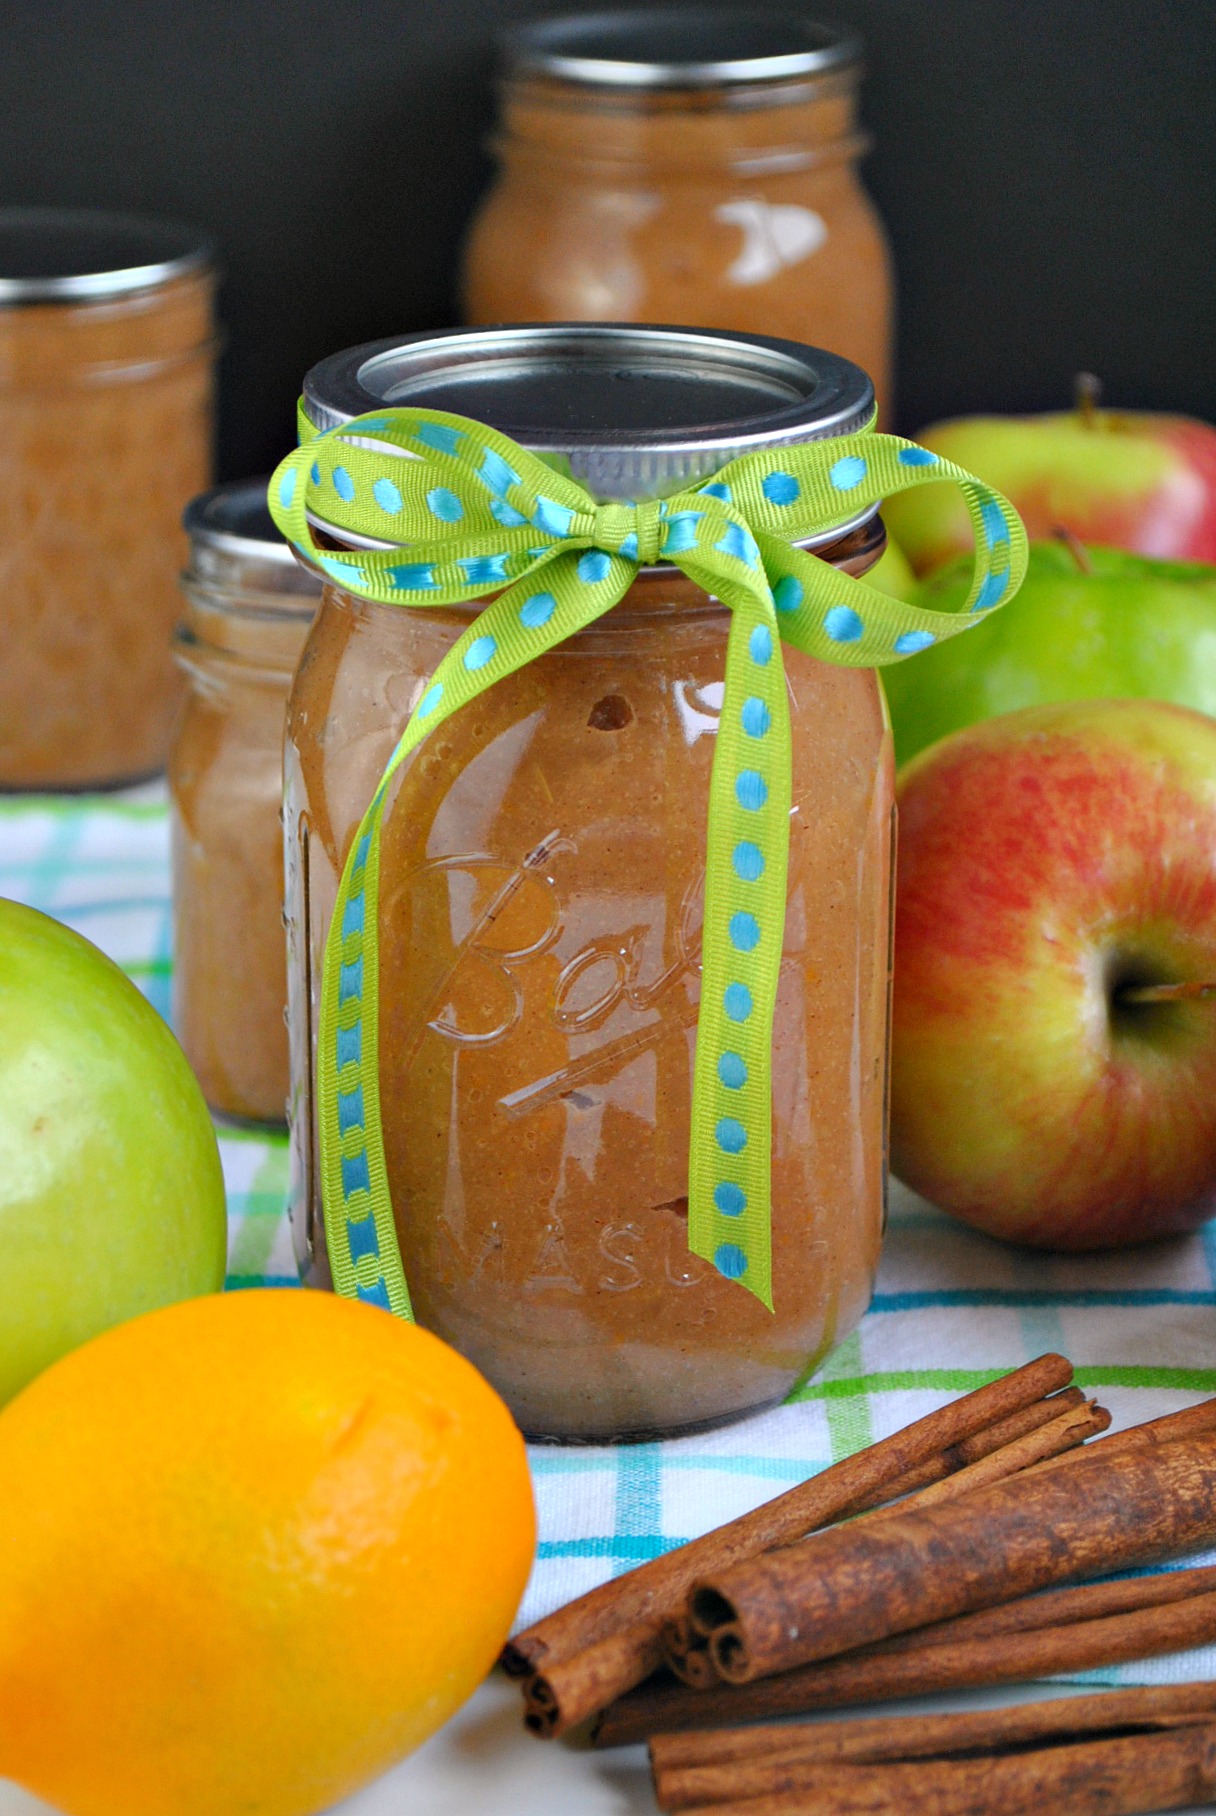
 Happy Fall ya’ll!